Favourite Links
Tuesday 29 April 2014
Saturday 26 April 2014
Thursday 24 April 2014
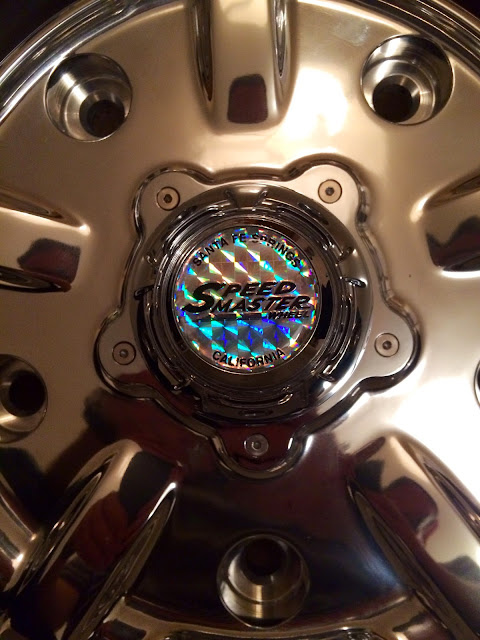
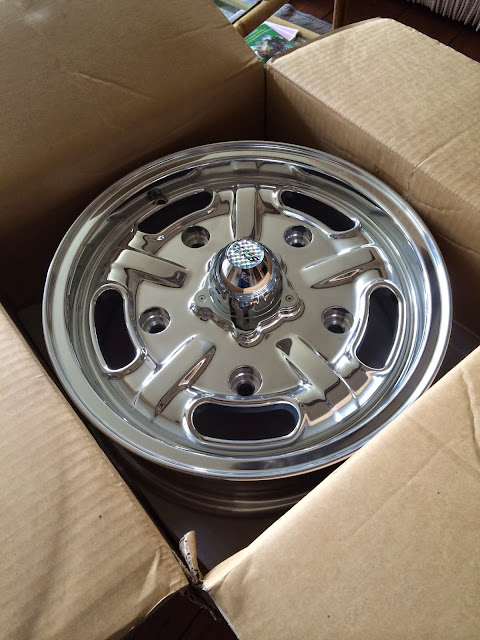
Polished Speedmasters
The polishing and finish on the wheels is superb- a step up from the "midland" budget wheels I have had previously.
Mooneyes speedmaster wheels
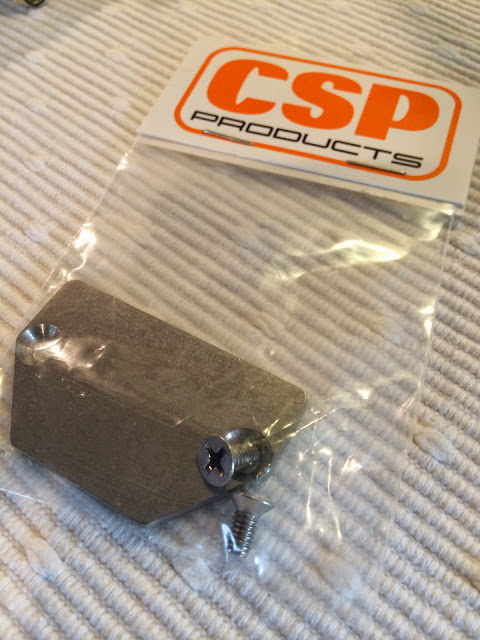
Goodies arrived today courtesy of CSP, wheels in et13&21.
Tyres ordered through www.tyreleader.co.uk and came from Germany in less than 4 business days would recommend. Only place I could find a decent price on the Pirelli and Pirelli were the only "modern" manufacturer who seemed to do a 185/70.
Also finally managed to get a pair of 185/70 tyres, looked at classic Michelin to complement the XZX for the front but just too expensive not far off £300 per tyre!
Pirelli P6000 looks ok though with a chunky section thanks to that 70 section.
Monday 21 April 2014
Mooneyes Speedmaster wheels
The better half has very kindly treated me to a set of polished speedmasters!
Tyres on order, 145/15 XZX and a 185/70 section for the rears.
Picture of the wheels below and go check out speedhunters.com
Engine breather box location
In an effort to maximise space in the engine bay, and keep it looking clean and simple routed all breather pipes through the front tin.
This then connects to a CSP six port breather box, which I have painted satin black to conceal it and made up some brackets to suspend it above the gearbox.
Filter breathers to be mounted on the upper two ports, upwards of the internal baffle.
Only time will tell how this works in practise, concern being whether the box is high enough, but hopefully with clever routing of pipes will encourage drain back to the engine if needed.
Easter progress...
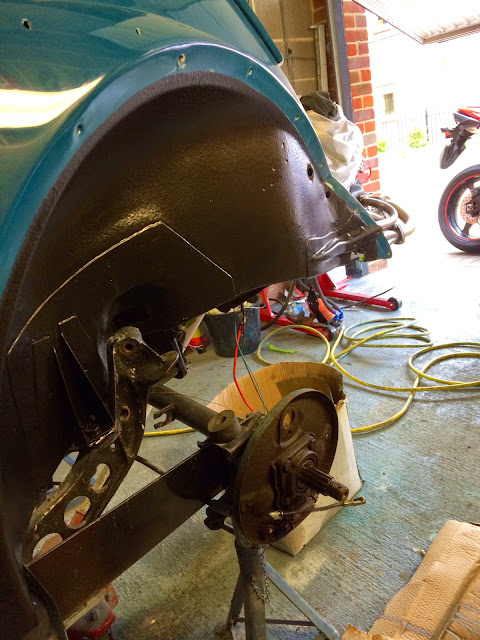
Finished off the prep of the rear wheel arches, with acid etch primer two coats and stone chip in satin black.
Sunday 6 April 2014
Test run
After some starter motor issues, ran the engine as per cam break in rules and also increased concentration of zinc with "CamShield".
Great to see it run after all this time prepping it.
Chromoly pushrod cut to length
Cut the pushrods to length this morning, all cut to close tolerance and ball ends inserted using an old lifter.
Friday 4 April 2014
Engine on the test stand
Stand sourced from air-cooled-parts one of the nicest firms to deal with, based in Ireland.
See link : http://www.air-cooled-parts.com/cat/product_info.php?cPath=330&products_id=38821
Finally getting close to using it now that I have transferred the engine from the build up stand.
Alfa Romeo oil seal- double lip
A recent purchase from the Volksworld show, double lip flywheel oil seal.
More details at: http://www.statesidetuning.co.uk/newproducts.html
Part bakelite seal
Double lip seal, hopefully this should eliminate any leaks.
AN fittings
Decided to fit the breathers and oil lines with aeroquip push on hose and AN8 fittings to enable them to be removable.
Also managed to get hold of correct sized fittings for IDF 44, and angled fittings to enable a safe bend radius on the stainless braided AN6 lines.
Wednesday 2 April 2014
CSP delivery day
Should offer the clearance I need as using an original fanshroud and close to stock width.
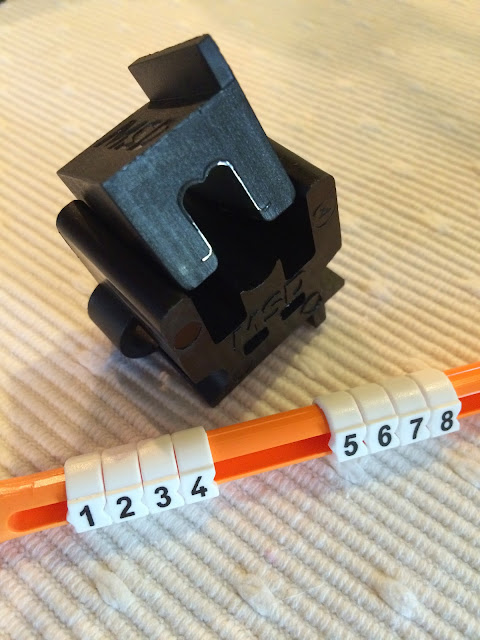
Nice crimping kit on the MSD set for securing the coil connector and "numbers" for marking the leads.
Tuesday 1 April 2014
Flame Thrower II Coil "refresh"...rattle can style
It was looking a bit worse for wear with chips in the black paint, so thought I would paint it silver and lay on some clear coat. Silver seems to work quite well against the satin black and better than the cheesy "flame" stickers that pertronix add to them.
trial fitting engine tin and fan shroud
managed to locate some VW engine shrouds and rather than try to stretch them to accommodate manifolds, cut and extended them to avoid distorting them.
| original tinware fits so much better than aftermarket items also helped by a stock width stroker format |
| more genuine tinware, fits well and seals air gaps |
MST alternator stand
Subscribe to:
Posts (Atom)


